We ship worldwide from warehouses in the USA, Canada, Europe, UK and Australia!

0

Your Cart is Empty

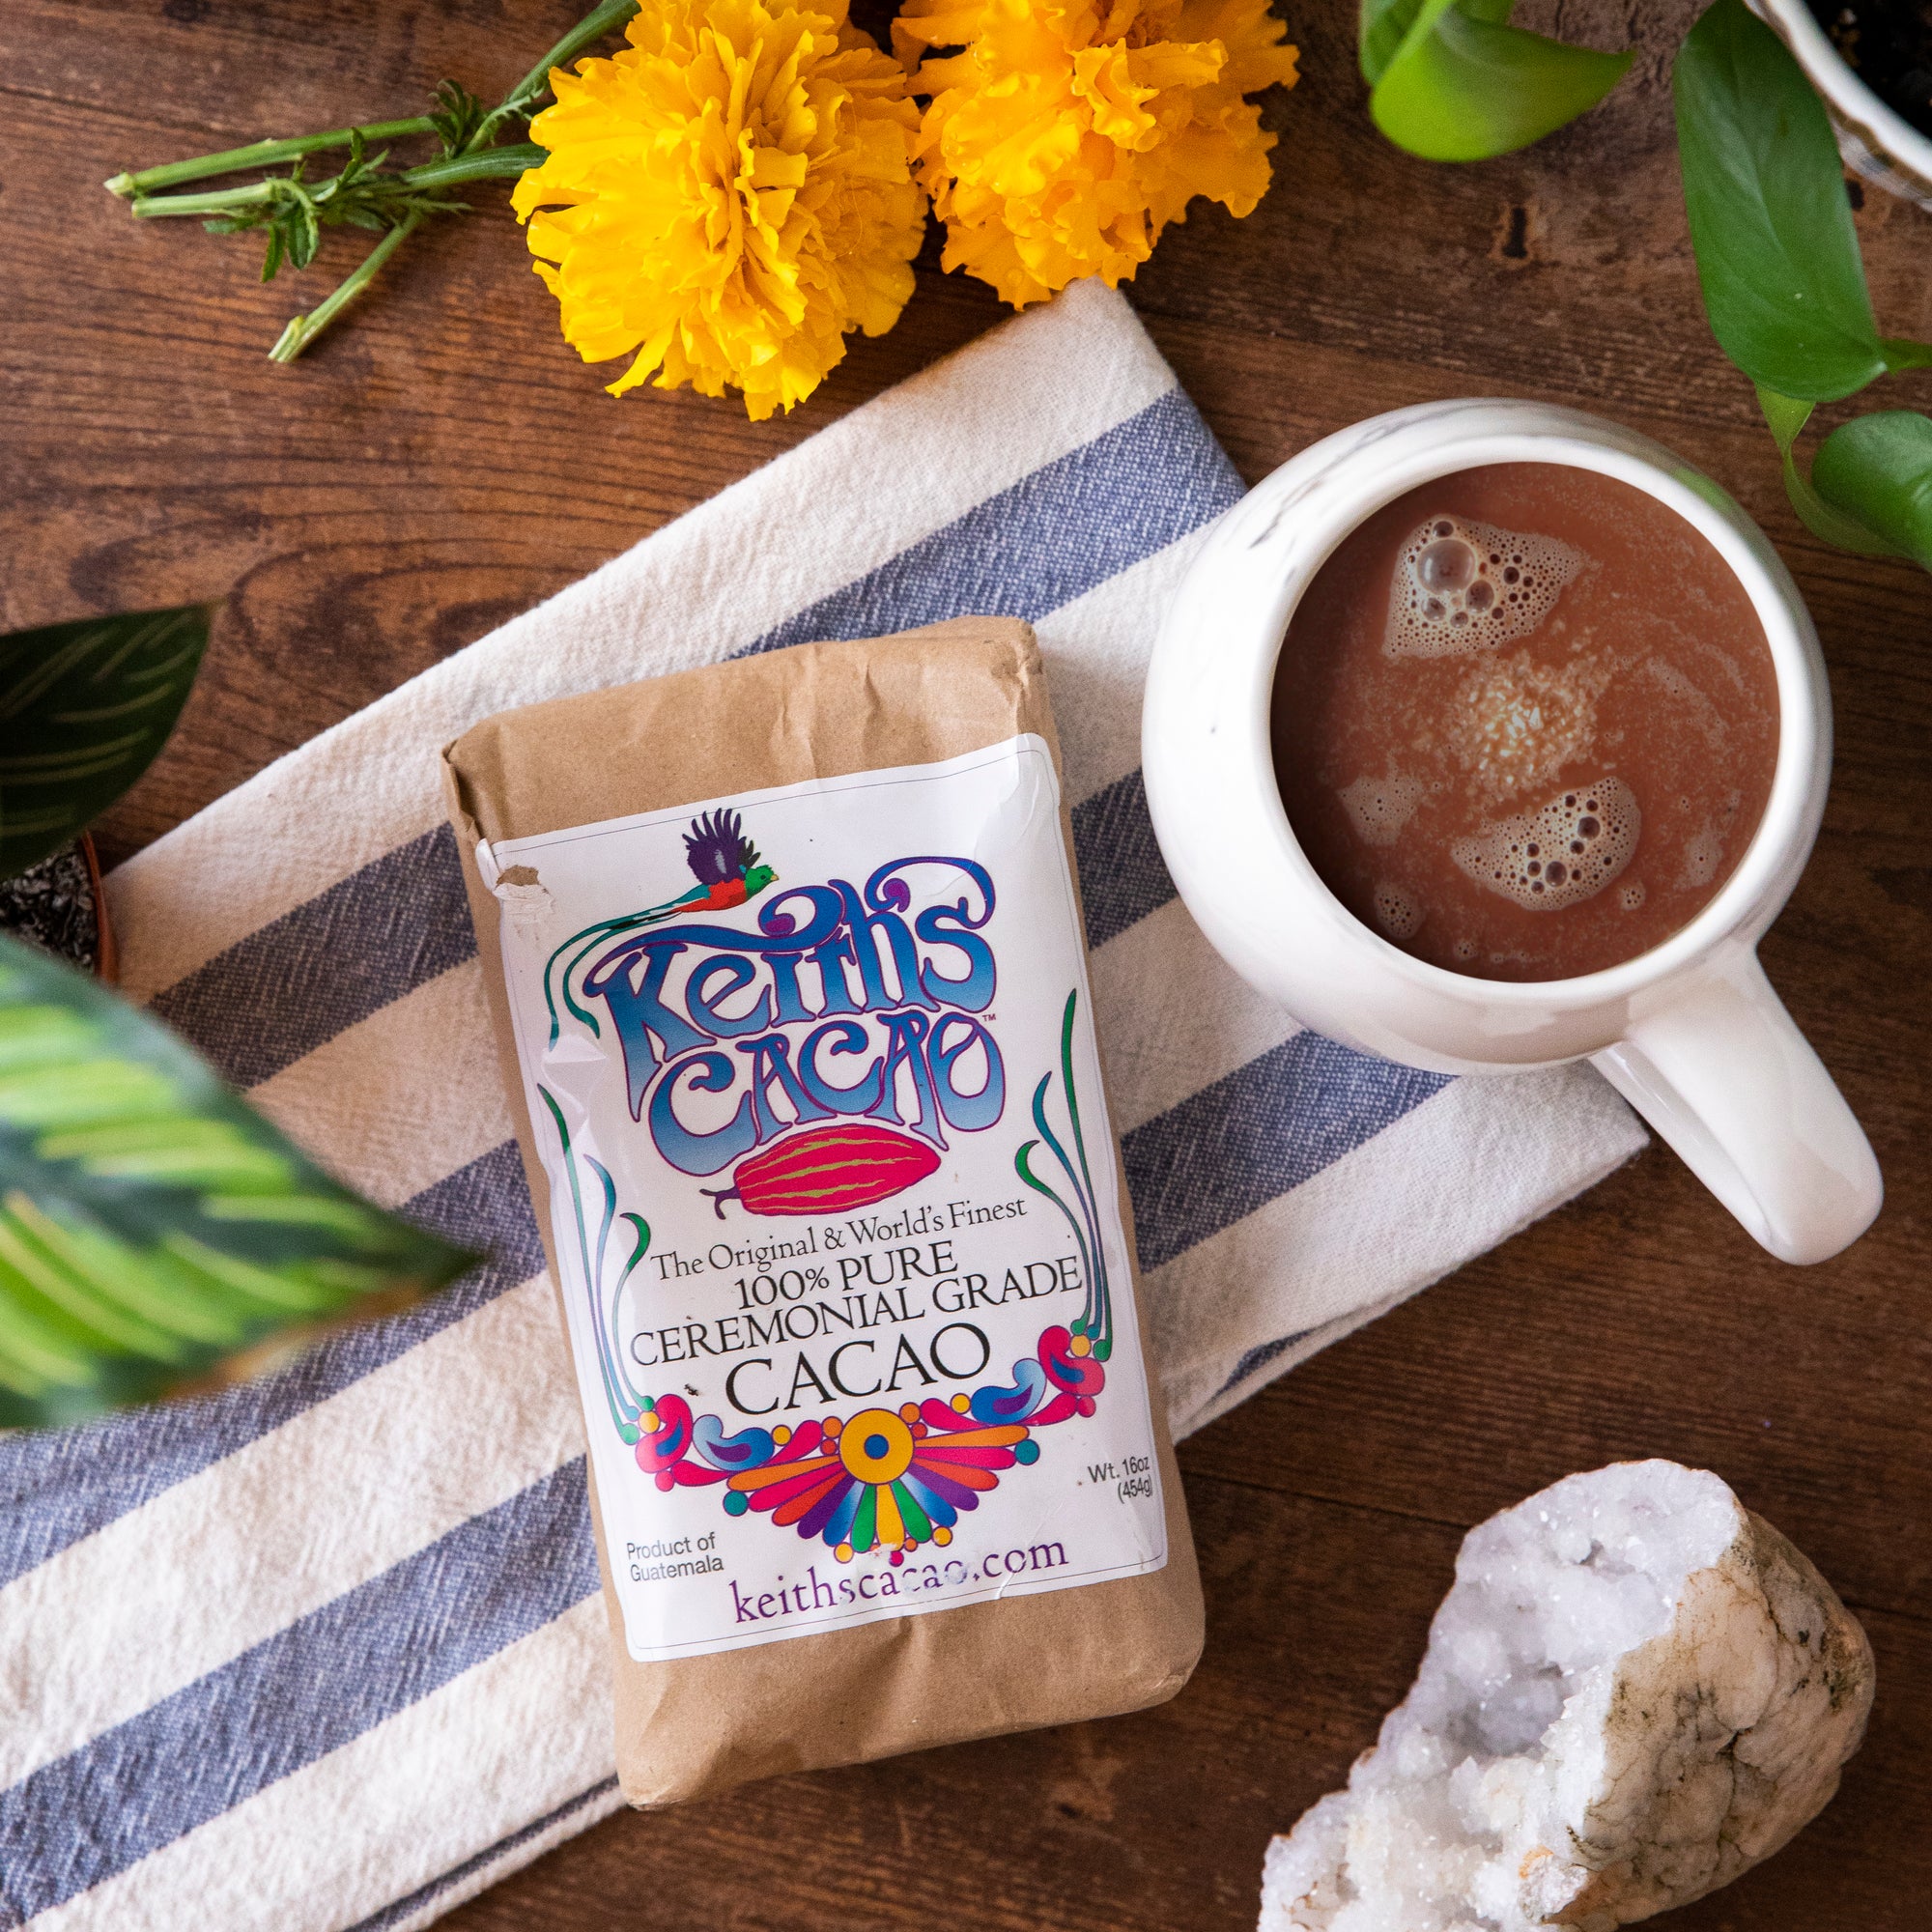
Cacao nutrition | Cacao recipe | Ceremonial cacao | Easter eggs

Pure Cacao Easter Eggs!

It's Eastertime, and if you are thinking bunnies, buns, and chocolate eggs, as much as you are thinking about the resurrection of Christ, you are not the only one. Whilst the first chocolate eggs appeared in France and Germany in the 19th Century, the egg has been a symbol of regeneration since time immemorial, and springtime celebrations are pretty ancient too.

Many of the traditions and symbols observed in our modern-day celebrations of Easter - the Easter egg and bunny included - have their roots in pre-Christian traditions. Even the origin of the word Easter can be traced back to the Scandinavian' Ostra' and the Germanic 'Ostern' or 'Eastre,' both of which seem to derive from 'Eostre,' goddess of Spring and fertility, for whom festivals were held at the time of the Spring Equinox.

Some claim that the name goes even further back to the Canaanite/Phoenician goddess Astarte and the Mesopotamian Ishtar. Etymologically, it is not unlikely that it relates to the Greek "Οίστρος" - a word that is used both to denote spiritual and mental stimulation, creativity, inspiration, enthusiasm, excitement, as well as all the phenomena related to the ovulation of mammals!

Essentially, these various linguistic titles seem to be symbolic of The Egg Of Creation. As Christianity began to sweep across Europe, absorbing pagan Spring traditions, potent symbols such as the egg were adapted to become the perfect representation of Jesus' resurrection. The eggshell became a symbol of the tomb, and its cracking representative of Jesus' emergence; life-conquering death.

Whatever its history, today in the Western world, we have come to collectively identify Eastertime as a time of Rebirth, Renewal, Fecundity, and Love. So if you are celebrating Easter and are into the custom of gifting chocolate Easter eggs, why not make ones that truly reflect these qualities. Ones that use real 'love' chocolate, no refined sugars, and no suspect food additives!

It's not as hard as you think. Depending on your time, level of confidence, and creativity, you can choose to stop at Step 1 and make simple figures or half eggs or take it all the way to Step 3; and involve the kids in the process! Whatever you choose, you can be sure that you will have made Real Chocolate Easter Eggs that are an exceptional treat.

Chocolate Easter Eggs

Servings: 20 small eggs (depending on size of molds)

Keywords: Cacao, Chocolate, Easter, Easter Eggs

  • Prep Time: 45 mins
  • Cook Time: 1 hours 0 mins
  • Total Time: 1 hours 45 mins

Ingredients

Instructions

Ingredients

  • 80 g Raw Cacao Butter
  • 70 g Coconut Oil
  • 3 tbsp Maple Syrup/Agave Syrup
  • 60 g Keith's Cacao Paste
  • 1 tsp Vanilla (or flavoring of your choice)
  • 1 tsp Orange Zest - finely grated
  • pinch of Salt
  • Edible paint/luster dust

Instructions

Step 1 - Molding

  1. Using a double boiler, melt the cacao butter and coconut oil.
  2. Keeping a very low heat, add the rest of the ingredients and allow them to melt together, stirring constantly. 
  3. Taste the mixture to see if it is sweet enough!! If not, then add more sweet syrup.
  4. Pour the mixture into your choice of silicone molds. TIP: As silicone molds are very flexible, place them on a small tray, or equivalent, so they can be easily transferred to the fridge/freezer, with no spillages. AND, if you wish later to form 3d Easter Eggs and join two halves together, remember to save a little chocolate aside!
  5. Place in the fridge/ freezer until they become hard. TIP: Time for hardening depends on your choice of size of mold, and your cooling method. The small eggs in this recipe took about 30 mins in the fridge!

Step 2 - SEALING/MAKING 3D EASTER EGGS

  1. If you wish to make 3d Easter Eggs, remove hardened eggs from the fridge or freezer, and melt down the remaining chocolate that you set aside, in the bain-marie.
  2. Leave one half egg in the mold, and pop out the other carefully.  (GO DIRECTLY TO STEP 3 IF YOU WISH TO PAINT YOUR EGGS)
  3. Apply melted chocolate to the half egg in the mold. Join/place the other half on top and press gently. TIP:Apply a small amount just to the centre, and be careful NOT to apply to the edge. as this could cause spillage when the two halves are sealed.
  4. Place them back in the fridge to harden.
  5. Remove from the fridge and pop out of the mold.

STEP 3 - SEALING FOR PAINTING AND DECORATING

  1. If you wish to paint your eggs, you will need to add a cocktail stick to one of the half of your egg. This is so you have something to grip whilst you create!
  2. Remove half of your “half eggs” from the molds and take out of the fridge. Leave them out for a few minutes to soften slightly.
  3. Gently, push the cocktail stick diagonally into the bottom area of your “half egg”.  TIP:If it breaks you can always re melt and use the mixture again.
  4. Seal two halves together with the cocktail stick in the centre. Follow sealing instructions above (STEP 2 points 8-10).
  5. Pick up the egg using the cocktail stick, and choose your desired edible paint/luster dust.
  6. Using a small paint brush apply the paint/dust. (You can find plenty of tips online for applying).
  7. Leave to harden in the fridge.
  8. Remove the cocktail stick.
  9. Eat with intention!!!

Notes

Recipe by Keith's Cacao Practitioner Verity Stevens

The discount code has been applied and will apply to your cart in checkout